omxplayer-dbus for Raspberry Pi
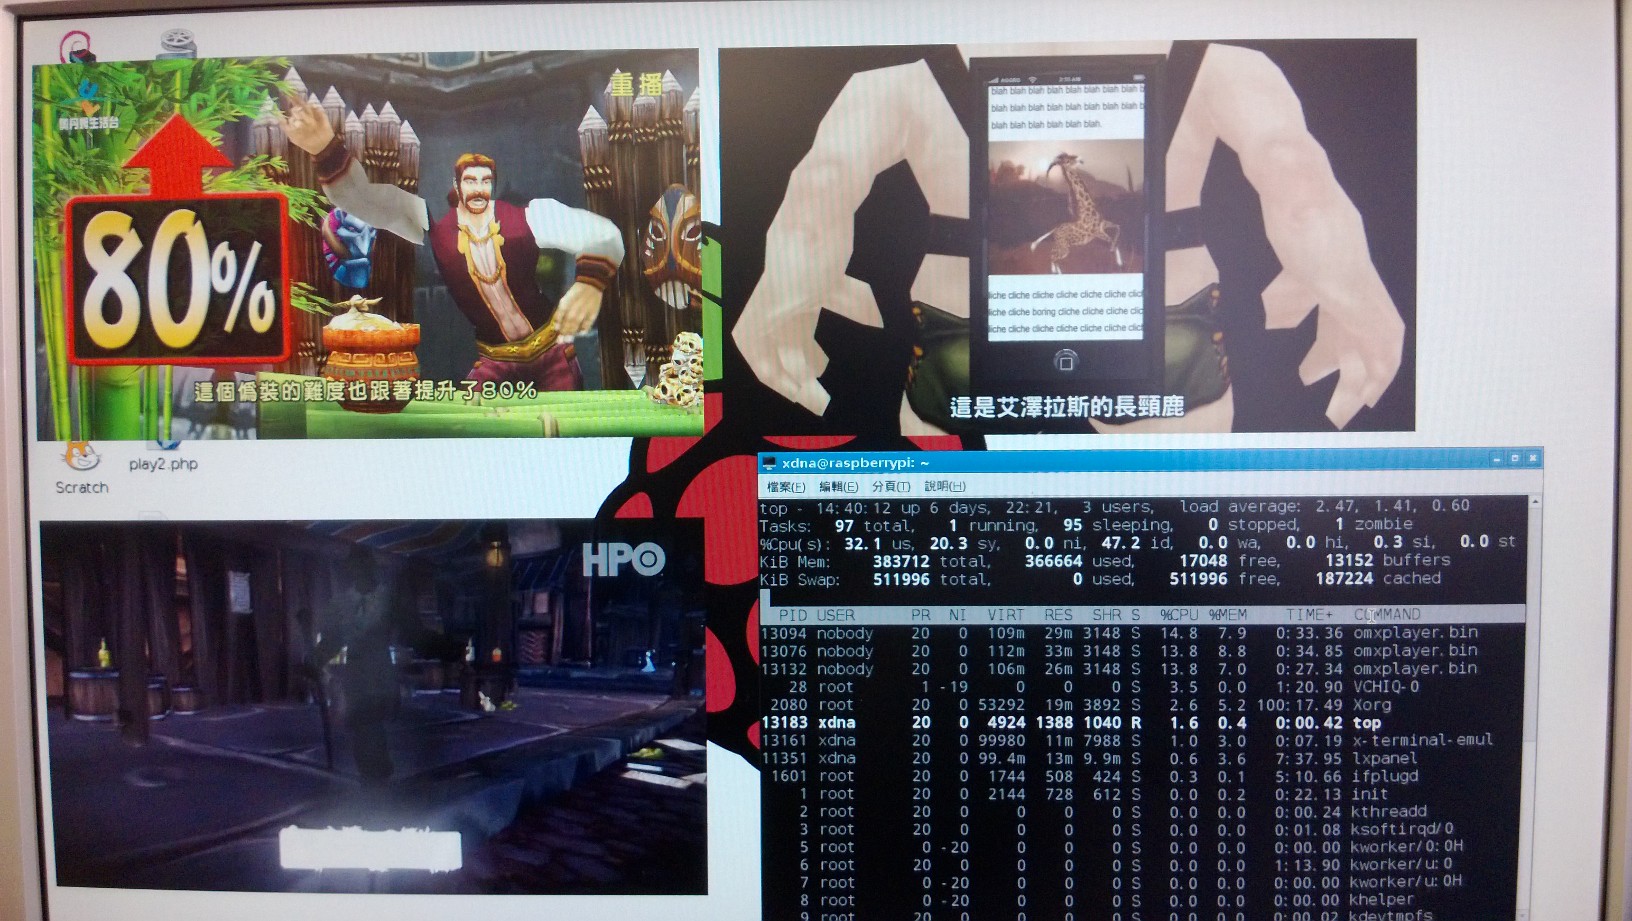
在 Raspberry Pi 機板, omxplayer 是目前唯一可以利用 BCM2835 晶片的硬體視訊加速功能播放影片的播放程式。 vlc, mplayer 等都不行。以 Raspberry Pi CPU 的效能,使用 vlc 或 mplayer 播放影片的效果,只有一個慘字。但使用 omxplayer 時,既便是 1080P HD 的 MP4 影片,播放時仍然遊刃有餘, CPU 平均只佔用 15% 使用率。
omxplayer 是一個命令列程式,為了簡化它的操作方式,讓它可以 API 的形式為其他程式調用,我為它寫了一個 D-Bus 前台,稱為 omxplayer-dbus (源碼)。
用途
omxplayer-dbus 是我用 Python (這也是 Raspberry Pi 官方推薦的程式語言) 撰寫的 omxplayer 的 D-Bus 服務前台,透過 pipe 控制 omxplayer 的播放行為。 omxplayer-dbus 還具備了類似播放清單的管理能力,讓使用者可以同時播放多個影片。
關於 D-Bus 的概念與各程式語言的使用方式,請參考本部落格的相關文章,或自行搜尋網路。 omxplayer-dbus 透過 D-Bus 提供了程式化程度較高的 API 介面,讓程式人員可以更直覺地操作 omxplayer 播放影片。
omxplayer 有一個很重要的特性,它直接透過 SoC 晶片上的繪圖指令繪製影像,不是透過 X-Window 介面。所以 omxplayer 不需要使用者登入 X-Window ,直接在 console 狀態就可以播放影像。 故 omxplayer-dbus 也是以 system bus 型態提供服務。程式人員可以在任何狀態下請求 D-Bus 服務。 所以用瀏覽器開啟 PHP 程式網頁,再透過 PHP 的 DBus 溝通 omxplayer-dbus 也做得到。
omxplayer-dbus 提供三個操作介面,其規格請看「OMXPlayerDbus」。此處僅簡單說明。
raspberry.pi.OMXPlayerList 介面
omxplayer-dbus 啟動時,會配置一個管理者,其 object path 為 /raspberry/pi/OMXPlayer 。管理者實作了 raspberry.pi.OMXPlayerList 介面,提供 Play, Queue 和 List 方法,以及一個 Event 信號。使用者首先要向管理者請求播放(Play)或排入(Queue)一個影像媒體。管理者會配置一個播放器,並傳回代表播放器的 object path (在程式語言中,當我們配置一個變數後,一般會指派一個變數名稱。而在 DBus 架構中, object path 就象徵變數名稱,使用者需要知道這個 object path ,才可操作變數或個體) 。使用者將透過播放器的 object path 控制影像播放動作。使用者可調用管理者的 List 方法,取得目前運作中的播放器清單。
raspberry.pi.OMXPlayer 介面
播放器的 object path 為 /raspberry/pi/OMXPlayer/{number} 之形式。
播放器實作了 raspberry.pi.OMXPlayer 介面,提供 Stop, Pause, Resume, Volumn, SeekAhead, SeekBack 方法 (TODO 音訊軌切換,章節跳躍,字幕切換。 在我目前的使用情境中,還沒有使用這三個控制動作。所以目前並未實作它們的 DBus 方法。 )。
Volumn 方法使用參數 tick 代表音量調節的節數。一個 + 代表增大 3db ,一個 - 代表減少 3db。舉例來說, tick 為 '++' 時,會增大 6db ;tick 為 '---' 時,會減少 9db 。
omxplayer 只能控制播放進度前進或後退,故只提供 SeekAhead 和 SeekBack 方法。參數 distance 表示跳躍距離。 small 為 30秒, large 為 600秒。
org.freedesktop.DBus.Properties 介面
播放器也實作了 org.freedesktop.DBus.Properties 介面,提供 GetAll, Get 方法,讓使用者查看播放器目前的狀態。可查詢狀態有:
- MRL
- paused
- volumn
- videoWidth
- videoHeight
- visualTop
- visualLeft
- visualBottom
- visualRight
omxplayer 在播放時,預設會將影像擴展至填滿整個指定區域,這有時會讓影像明顯變形。所以我設計了一個 keepratio 參數,可在保持影像長寬比例不變的條件下,擴展影像置中於指定區域。此時可從 visualTop, visualLeft, visualBottom, visualRight 查詢此影像實際佔用的可視區域座標。而 videoWidth, videoHeight 則是影像的原始尺寸。
範例
以簡單的 dbus-send 示範操作。
$ dbus-send --system --print-reply --dest=raspberry.pi.OMXPlayer \
    /raspberry/pi/OMXPlayer \
    raspberry.pi.OMXPlayerList.Play \
    string:"/home/pi/demo.mp4" int32:10 int32:10 int32:720 int32:480 \
    boolean:true string:""

method return sender=:1.15 -> dest=:1.33 reply_serial=2
   object path "/raspberry/pi/OMXPlayer/2809"

# 暫停
$ dbus-send --system --print-reply --dest=raspberry.pi.OMXPlayer \
    /raspberry/pi/OMXPlayer/2809 \
    raspberry.pi.OMXPlayer.Pause

# 繼續播放
$ dbus-send --system --print-reply --dest=raspberry.pi.OMXPlayer \
    /raspberry/pi/OMXPlayer/2809 \
    raspberry.pi.OMXPlayer.Resume

# 增大音量6db。
$ dbus-send --system --print-reply --dest=raspberry.pi.OMXPlayer \
    /raspberry/pi/OMXPlayer/2809 \
    raspberry.pi.OMXPlayer.Volumn \
    string:"++"

$ dbus-send --system --print-reply --dest=raspberry.pi.OMXPlayer \
    /raspberry/pi/OMXPlayer/2809 \
    raspberry.pi.OMXPlayer.Stop
下列則是 PHP 的範例。
<?php
$service = 'raspberry.pi.OMXPlayer';
$object_path = '/raspberry/pi/OMXPlayer';
$list_interface = 'raspberry.pi.OMXPlayerList';
$player_interface = 'raspberry.pi.OMXPlayer';

$d = new Dbus(Dbus::BUS_SYSTEM);

$proxy = $d->createProxy(
    $service, $object_path, $list_interface);

$player_path = $proxy->Play('/home/pi/demo.mp4', 10, 10, 720, 480, True, '');

$player = $d->createProxy($service, $player_path->getData(), $player_interface);

sleep(10);
$player->Pause();

sleep(10);
$player->Resume();

sleep(10);
$player->Volumn('++');

sleep(10);
$player->Stop();

?>安裝
我提供了一個 deb 包,供 Debian 用戶安裝。請到「rocksources Downloads」下載 omxplayer-dbus_???_all.deb 。 ??? 是版本號碼,請找最新版下載。
想直接以源碼安裝的人,請到「rocksources:omxplayer-dbus」用 svn 工具取出 omxplayer-dbus 源碼。然後按照 INSTALL-rule 的提示複製檔案到定位 (INSTALL-rule 不是 shell-script)。接著你必須將 nobody 帳號加入 video 群組中,指令: sudo addgroup nobody video。因為要直接對代表顯示晶片的 vchiq 設備下達繪圖指令的程式,其執行身份必須為 video 群組成員。而 omxplayer-dbus 預設以 nobody 身份執行,故需要將 nobody 加入 video 群組。順便建立 /var/log/omxplayer-dbus 和 /var/run/omxplayer-dbus 兩個目錄,並將其擁有者改為 nobody 。這樣就完成安裝工作了。
喔,對了。你當然得要先安裝 omxplayer 。雖然大部份 Raspberry Pi 的作業系統影像都提供了 omxplayer ,但仍然提醒你檢查一下。